Problema de tarjeta gráfica no detectada en Windows 10 Fix
Actualizado en enero de 2024: Deje de recibir mensajes de error y ralentice su sistema con nuestra herramienta de optimización. Consíguelo ahora en - > este enlace
- Descargue e instale la herramienta de reparación aquí.
- Deja que escanee tu computadora.
- La herramienta entonces repara tu computadora.
Si eres un gran fanático de los videojuegos o las animaciones, ver el error Tarjeta gráfica no detectada te decepcionará con seguridad.Una tarjeta gráfica en su computadora portátil muestra una imagen en su monitor para una mejor calidad de visualización.Para obtener una experiencia de juego más rica, un mayor rendimiento en aplicaciones y software 3D y una mejor experiencia de video y HD, generalmente tendemos a invertir en una gran tarjeta gráfica.En algunas circunstancias, es posible que su sistema no pueda reconocer la tarjeta gráfica.
Hay una variedad de razones que pueden conducir a este error.Una tarjeta gráfica defectuosa, controladores defectuosos, problemas con la ranura de la GPU o una configuración incorrecta del BIOS pueden ser algunas de las muchas razones.Una fuente de alimentación inadecuada también puede ser una causa.Es posible que su sistema no detecte la tarjeta gráfica al insertar una nueva o que haya dejado de detectar la existente de la nada.
Lea este artículo para saber cómo puede solucionar este problema.
Notas importantes:
Ahora puede prevenir los problemas del PC utilizando esta herramienta, como la protección contra la pérdida de archivos y el malware. Además, es una excelente manera de optimizar su ordenador para obtener el máximo rendimiento. El programa corrige los errores más comunes que pueden ocurrir en los sistemas Windows con facilidad - no hay necesidad de horas de solución de problemas cuando se tiene la solución perfecta a su alcance:
- Paso 1: Descargar la herramienta de reparación y optimización de PC (Windows 11, 10, 8, 7, XP, Vista - Microsoft Gold Certified).
- Paso 2: Haga clic en "Start Scan" para encontrar los problemas del registro de Windows que podrían estar causando problemas en el PC.
- Paso 3: Haga clic en "Reparar todo" para solucionar todos los problemas.

REVISIÓN 1: Buscar dispositivos ocultos
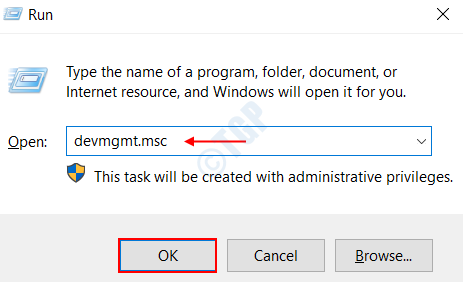
Paso 1: abre el Administrador de dispositivos en Windows 10.Para hacerlo, abra el cuadro de diálogo Ejecutar presionando las teclas Windows y R juntas.
Paso 2: escriba devmgmt.msc en el cuadro de texto como se muestra a continuación.Esto abrirá la ventana del Administrador de dispositivos.
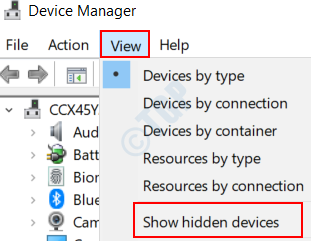
Paso 3: Haga clic en la pestaña Ver en la ventana que se abrió.Ahora elija la opción Mostrar dispositivos ocultos de la lista.
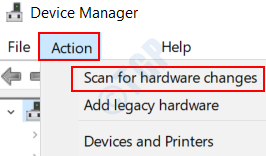
Paso 4: Ahora navegue a la pestaña Acción y haga clic en ella.Elija la opción Buscar cambios de hardware de la lista que se abre.
Paso 5: compruebe si el controlador de su tarjeta gráfica se encuentra en Adaptadores de pantalla.Si aparece, entonces usted es bueno para ir.
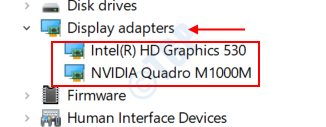
If you dont see the graphics card under Display Adapters, get on to the next fix.
FIX 2 : Check the Graphics Card Slot
The Graphics Card slot that resides inside your motherboard can be a cause of concern in many cases. They may have become faulty all of a sudden due to current and voltage issue. In order to check out for the GPU slot in your system, follow the below given steps.
Step 1 : Turn off your PC.
Step 2 : Open up the back cover of your PC or laptop.
Step 3 : Take a look on to the motherboard and Graphics card slots, like the PCI Express x16 slots.. Turn on the PC and check if the fan associated with the graphics card is running.
Step 4 : If the fan is running, then there isn’t an issue with the slot. Else, try inserting the graphics card in any other slot available, like the AGP slot. Check if the fan runs on turning on the PC.
Step 5 : There are chances that multiple slots might be faulty. Try each of them.
Step 6 : In case if none of the graphics card work on the slot, you may have to consider replacing the motherboard.
FIX 3 : Uninstall Windows Updates
Installing new windows updates may have introduced this bug and may have messed up with your drivers and other inbuilt settings. If you had updated your Windows less than a week ago, then there is an option to uninstall it. To do so, follow the below given steps .
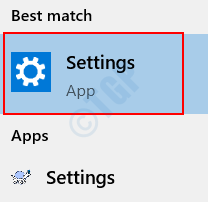
Step 1 : Search for the Settings menu from the Windows Search bar and click on it.
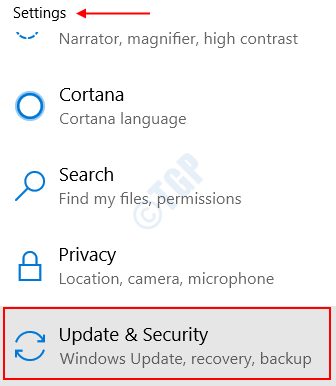
Step 2 : Click on the option Update and Security.
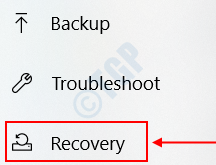
Step 3 : In the Settings page that opens up, click on the option Recovery on the left pane.
Step 4 : You will find a feature named Go back to an Earlier Build. Click on the option Get Started and follow the instructions provided.

Tenga en cuenta que esta opción puede estar atenuada si no ha realizado una actualización reciente de Windows.Pase a la siguiente solución si esto no resuelve su problema.
REVISIÓN 4: configurar la tarjeta gráfica predeterminada
Si tiene la tarjeta gráfica NVIDIA instalada en su sistema, puede seguir los pasos que se indican a continuación para configurar la tarjeta gráfica en su sistema para usar la predeterminada.
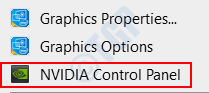
Paso 1: Haga clic derecho en su escritorio y elija la opción Panel de control de NVIDIA.
Paso 2: en la ventana que se abre, haga clic en la pestaña Configuración 3D.
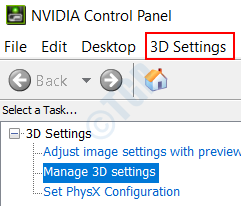
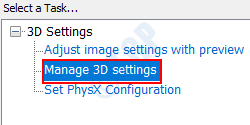
Paso 3: en el panel izquierdo, encontrará la opción Administrar configuración 3D en Configuración 3D.Haz click en eso.
Paso 4: haga clic en la pestaña Configuración del programa en el panel derecho.
Paso 5: Ahora elige el programa para el que querrás usar la tarjeta gráfica.Puede hacerlo eligiendo el programa de la lista desplegable en la sección Seleccione un programa para personalizar.
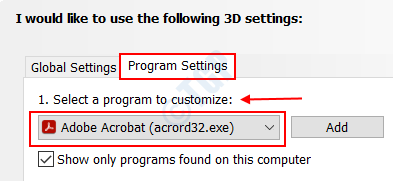
En mi caso, he seleccionado Adobe Acrobat como programa a personalizar.
Paso 6: En la sección Seleccione el procesador de gráficos preferido para este programa, haga clic en la lista desplegable y elija la opción Usar configuración global (Procesador NVIDIA de alto rendimiento).
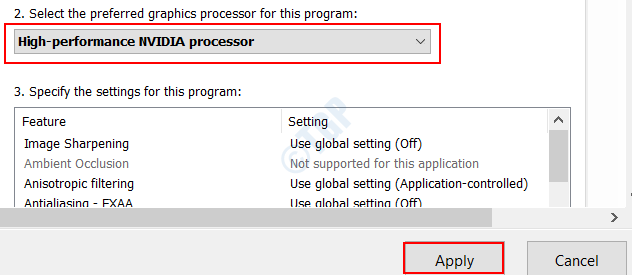
Click on the Apply button on bottom and then exit the window.
This will choose the option NVIDIA Processor as the default graphics card for your selected program.
If this works for the program you selected, then follow the same steps for different applications in your system
FIX 5 : Restore the Default BIOS Settings
Restoring the BIOS settings for the graphics card to default can help restore all the GPU settings in your system to their original state. This can help in many cases. To do so, follow the below given steps.
Step 1 : Search for the option Settings from Windows Start Menu and click on it.
Step 2 : Choose the option Update and Security on the page that lands up.
Step 3 : Now, in the left pane, you are required to choose the option Recovery.
Step 4 : On the right pane, you will find the option Restart Now under Advanced Startup.
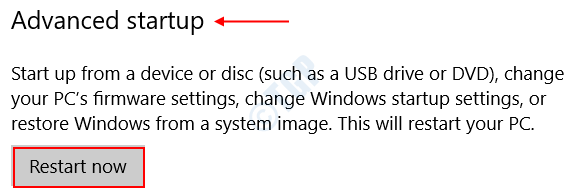
This will restart the system in a different mode rather than the normal one.
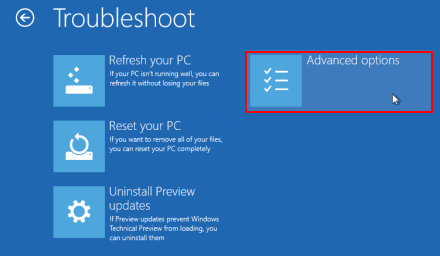
Step 5 : Once the system restarts, you will get a new screen different from the normal login screen. Now, choose the option Troubleshoot from a list under Choose an option menu.

Step 6 : Click on the option Advanced Options under Troubleshoot.
Step 7 : You are now required to choose the option UEFI Firmware settings from the options.
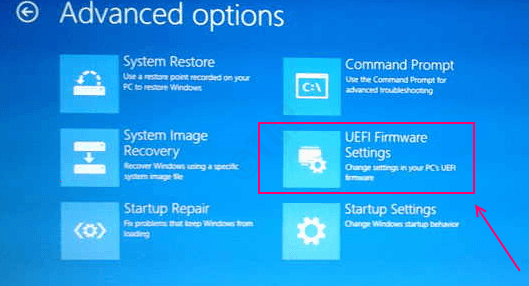
It will prompt you to restart the system. Go ahead with it.
Step 8 : You will find an option Restore Defaults under the tab Save and Exit. These options will differ from manufacturer to manufacturer.
Step 9 : Once you restore the defaults, all the application and program settings will be restored to its original set up. Exit the window and restart your system.
Check if any of the above given methods work out for you. Please feel free to comment in case of any queries.
">